How to Prepare Your Property for a New Gravel Driveway Installation
Gravel driveways are a popular choice for homeowners looking for a cost-effective, durable, and aesthetically pleasing driveway solution. Whether you’re upgrading an existing driveway or installing a new one, gravel driveway installation requires careful planning and preparation to ensure long-lasting results. A properly installed gravel driveway enhances your property’s curb appeal, provides a smooth surface, and resists wear and tear over time.
Preparing your property for a gravel driveway installation is a crucial step in the process. From determining the ideal location to ensuring proper grading and drainage, each phase of preparation directly impacts the durability and functionality of the driveway. In this comprehensive guide, we will walk you through the essential steps you need to take to prepare your property for a new gravel driveway installation.
Why Proper Preparation is Crucial for Gravel Driveway Installation
Proper preparation is key to ensuring that your gravel driveway performs well and stands the test of time. If the groundwork is not done correctly, you may encounter problems such as:
- Poor drainage: Inadequate drainage can lead to water pooling on the driveway, causing erosion, potholes, and foundation damage.
- Uneven surface: Without proper grading, your driveway can develop low spots or bumps, which affect its appearance and functionality.
- Gravel displacement: Incorrect installation can cause the gravel to shift, resulting in ruts, potholes, and the need for frequent repairs.
By following the proper steps for preparation, you can avoid these common issues and enjoy a gravel driveway that looks great and performs well for many years.
Steps to Prepare Your Property for a New Gravel Driveway Installation
1. Determine the Ideal Location and Size of the Driveway
The first step in preparing your property for a new gravel driveway installation is to choose the best location and determine the size of the driveway. Consider the following factors when selecting a site:
- Access and convenience: Ensure that the location allows for easy access to your property, whether you’re parking your vehicles, providing access for guests, or moving heavy equipment.
- Slope: Avoid areas with steep slopes, as they can make it harder for water to drain properly, leading to erosion and other drainage issues.
- Existing obstacles: Look for any trees, rocks, utility lines, or structures that may be in the way. These should be removed or avoided to ensure a smooth installation process.
Once you’ve chosen the location, measure the length and width of the driveway. Be sure to include extra space for maneuvering, parking, and turning around. A standard driveway is typically 10-12 feet wide for a single-car driveway and 20-24 feet for a two-car driveway.
2. Clear the Area of Vegetation, Debris, and Obstacles
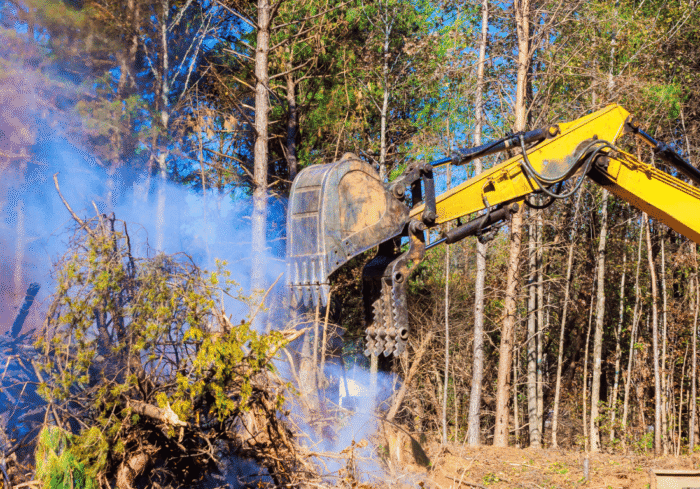
Before starting the gravel driveway installation, the area needs to be cleared of any vegetation, debris, or obstacles that could interfere with the installation process. This step is crucial for ensuring that the driveway surface is level and stable.
- Remove grass and weeds: Grass, weeds, and plants can grow through the gravel and disrupt the driveway’s surface. Use a shovel or a sod cutter to remove any existing vegetation from the area.
- Trim trees and shrubs: Trim back any overhanging branches or bushes that may obstruct the driveway or cause future problems, such as falling leaves or branches.
- Clear large rocks and debris: Remove any rocks, sticks, or other debris that could affect the grading and surface preparation of the driveway.
By thoroughly clearing the area, you’ll ensure that the foundation of the driveway is solid and free from obstructions.
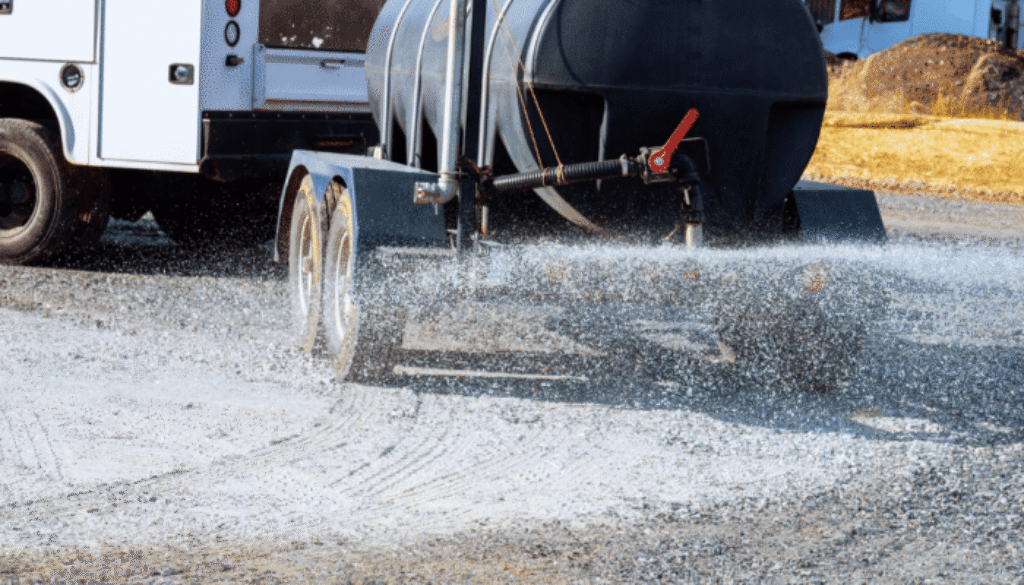
3. Ensure Proper Drainage and Grading
One of the most important aspects of gravel driveway installation is ensuring proper drainage. Water that collects on or around the driveway can lead to erosion, damage, and costly repairs. Proper grading and drainage prevent water from pooling, which helps maintain the driveway’s integrity over time.
- Create a slight slope: The driveway should be graded with a slight slope (around 2-5%) to allow water to flow off the surface and away from the driveway. This helps prevent puddling and erosion. The slope should be directed towards the sides or the end of the driveway, not towards the house or garage.
- Install a drainage system: Depending on the location of the driveway, you may need to install a French drain, surface drains, or a culvert to ensure proper water flow. These drainage systems will prevent water from pooling or flowing down the driveway, which can cause erosion and damage.
- Use proper base material: The base of the driveway should be made from compacted crushed stone, gravel, or other materials that provide stability and allow for proper drainage. A well-constructed base prevents the gravel from shifting and ensures the longevity of the driveway.
If you’re unsure about the proper grading and drainage for your property, it’s advisable to consult with a professional grading service to ensure the work is done correctly.
4. Choose the Right Gravel for Your Driveway
Selecting the right type of gravel is a key factor in the overall success of your gravel driveway installation. The type of gravel you choose will affect the appearance, drainage, and durability of your driveway. Common types of gravel used for driveways include:
- Crushed stone: Crushed stone is the most common choice for gravel driveways due to its angular shape and excellent compaction properties. It is durable and provides a solid, stable surface.
When choosing the gravel for your driveway, consider the aesthetics, durability, and maintenance requirements of each type. Consult with a gravel supplier or contractor to determine the best material for your specific needs.
5. Prepare the Subgrade and Install a Proper Base Layer
Once the area has been cleared, graded, and the gravel selected, the next step is to prepare the subgrade and install the base layer. The subgrade is the soil that will support the base and gravel layers of the driveway. It needs to be firm and compacted to provide a solid foundation for the rest of the driveway.
- Compact the subgrade: Use a mechanical compactor or roller to compact the subgrade soil to a solid, stable surface. This step is crucial to prevent future settling or shifting of the driveway.
- Install the base layer: The base layer typically consists of 4-6 inches of crushed stone, gravel, or other aggregate material. This layer should be evenly spread over the subgrade and compacted to create a firm foundation for the top layer of gravel.
A well-prepared subgrade and base layer are essential for ensuring that the gravel driveway installation lasts for many years without significant maintenance or repairs.
6. Spread and Compact the Gravel
After the base layer is in place, it’s time to spread the top layer of gravel. The gravel should be evenly distributed across the driveway and compacted to ensure stability and prevent shifting. Follow these steps to complete the installation:
- Compact the gravel: After spreading the gravel, use a compactor or roller to compact the surface. This step ensures that the gravel stays in place and provides a smooth, solid surface for driving. Multiple passes with the compactor may be required to achieve the desired compaction.
7. Finishing Touches and Maintenance
Once the gravel is installed and compacted, you can make any final adjustments to ensure the driveway is both functional and visually appealing. Consider adding finishing touches such as:
- Edge restraints: Installing edge restraints, such as timber or concrete curbs, can help keep the gravel in place and prevent it from shifting over time.
- Regular maintenance: Regularly inspect your gravel driveway for any signs of erosion, potholes, or uneven surfaces. Perform maintenance tasks such as replenishing gravel, regrading, and compacting to keep the driveway in optimal condition.
Conclusion
Proper gravel driveway installation requires careful planning and preparation. From selecting the right location and materials to ensuring proper grading and drainage, each step plays a crucial role in ensuring that your gravel driveway lasts for many years without significant repairs. By following these preparation steps, you can create a driveway that enhances the functionality and appearance of your property while saving time and money in the long run.